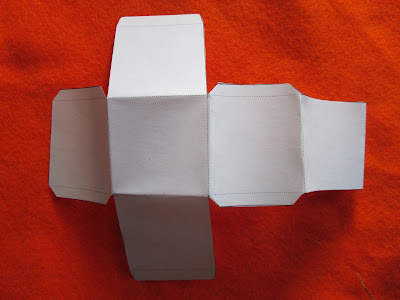
- go to Ideogram and use their box template maker to generate a pattern 2.5 inches square (or the size of your choice.)
- print out the pattern and cut it out.
- trace the pattern onto thin cardboard. (I used a Triscuit box, but a Milk Bone box would have been even more appropriate.) Save the paper template for the roof.
- Cut a half circle out of the cardboard for a door. You can do this freehand.
- Cut out the rest of the cardboard pieces and score on the fold lines.
- To assemble, glue one or two edges at a time and use making tape to hold the piece in place while it dries.
- make a roof by using two of the squares from the template and adding a triangle. (See photo.)
- the roof goes on last. it should fit over the bottom part. I glued it and used tape to hold it on while it dried..

- I painted my doghouse with multiple layer of acrylic paint. I went with the old standby red and brown but you could match the doghouse to the dollhouse for more cuteness.
- After I painted the doghouse I thought it looked sort of flimsy so i wound up gluing over the side and roof with felt and fabric. I think it looks much better. you can see both finishes in the pictures.
Add a sign and your tiny dog has a tiny house!


No comments:
Post a Comment